IMG_5082-1.jpg

Halloween DIY: Upcycled Glass Shade Pumpkins

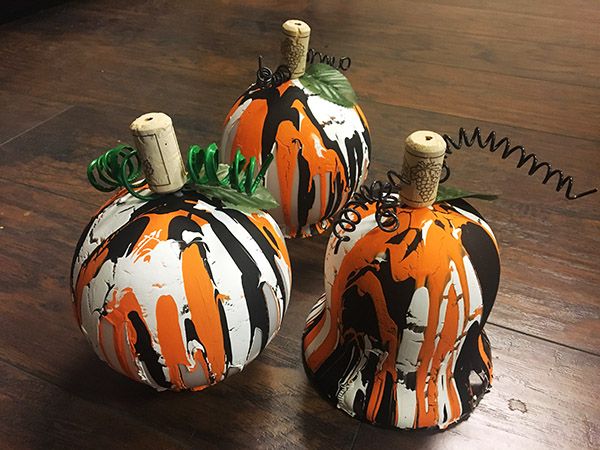
Halloween is right around the corner! And, we’re adding fall vibes in the warehouse with a few upcycled glass shade pumpkins. This is an easy and fun DIY because all you have to do is drip paint. You will need the following…

  • Glass Shades
  • Acrylic Paint
  • Cork Top
  • Wire
  • Wire Cutters
  • Super Glue
globes.jpg

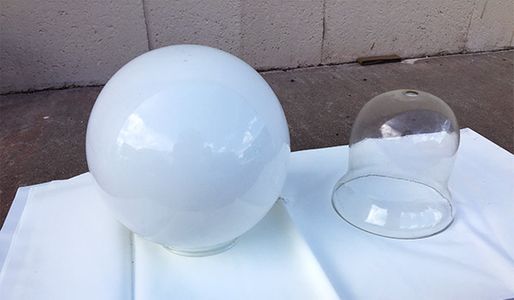
We have a ton of glass shades in the warehouse waiting to be repurposed! Globe shaped shades are ideal for this project. Bell shaped shades work as pumpkins too but they make even better ghosts. Check out Sadie Seasongoods Halloween ghosts here.

pumpkin_InProgress2.jpg

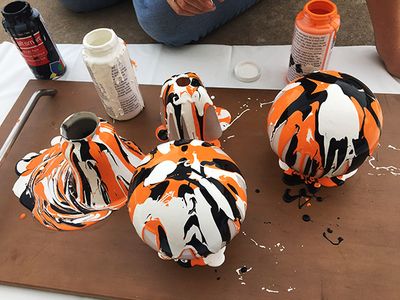
Start by dripping the paint at the top of the shade and let it run down the sides. Be aware that this gets messy so choose where you paint wisely. And, be careful not to drip the paint on too thick otherwise you end up with cracking. On a side note, if you leave a few areas paint free you can add a flameless candle underneath and let the light shine through. After you have finished painting let the glass shades dry overnight.

IMG_5070.jpg

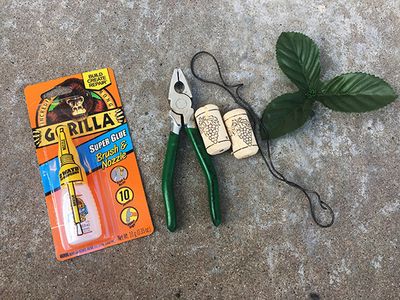
While the shades are drying work on the stems for the pumpkin. Using a pencil wrap the flexible wire around it to create coils. Next, attach the coils to the cork using glue or by poking a hole into the cork itself.

IMG_5082-1.jpg

After the paint is completely dry attach the stems to the top with glue. You can also add fake leaves but it’s not necessary. Finished! Now you have decorative pumpkins you can reuse over and over again every Halloween.